 |
| Look how many kids can fit...SO much Sand! |
Supplies:
(2) - 12" X 1" X 8'
(12) - 8" X 1" X 6'
(2) - 12" X 1" X 6'
(2) - 12" X 1" X 6'
(4) - 2" X 4" X 1ft 3inches
(8) Outdoor Hinges
Screws 1 1/2 inches
(4) Handles
Weather Proofing stain and sealer
 |
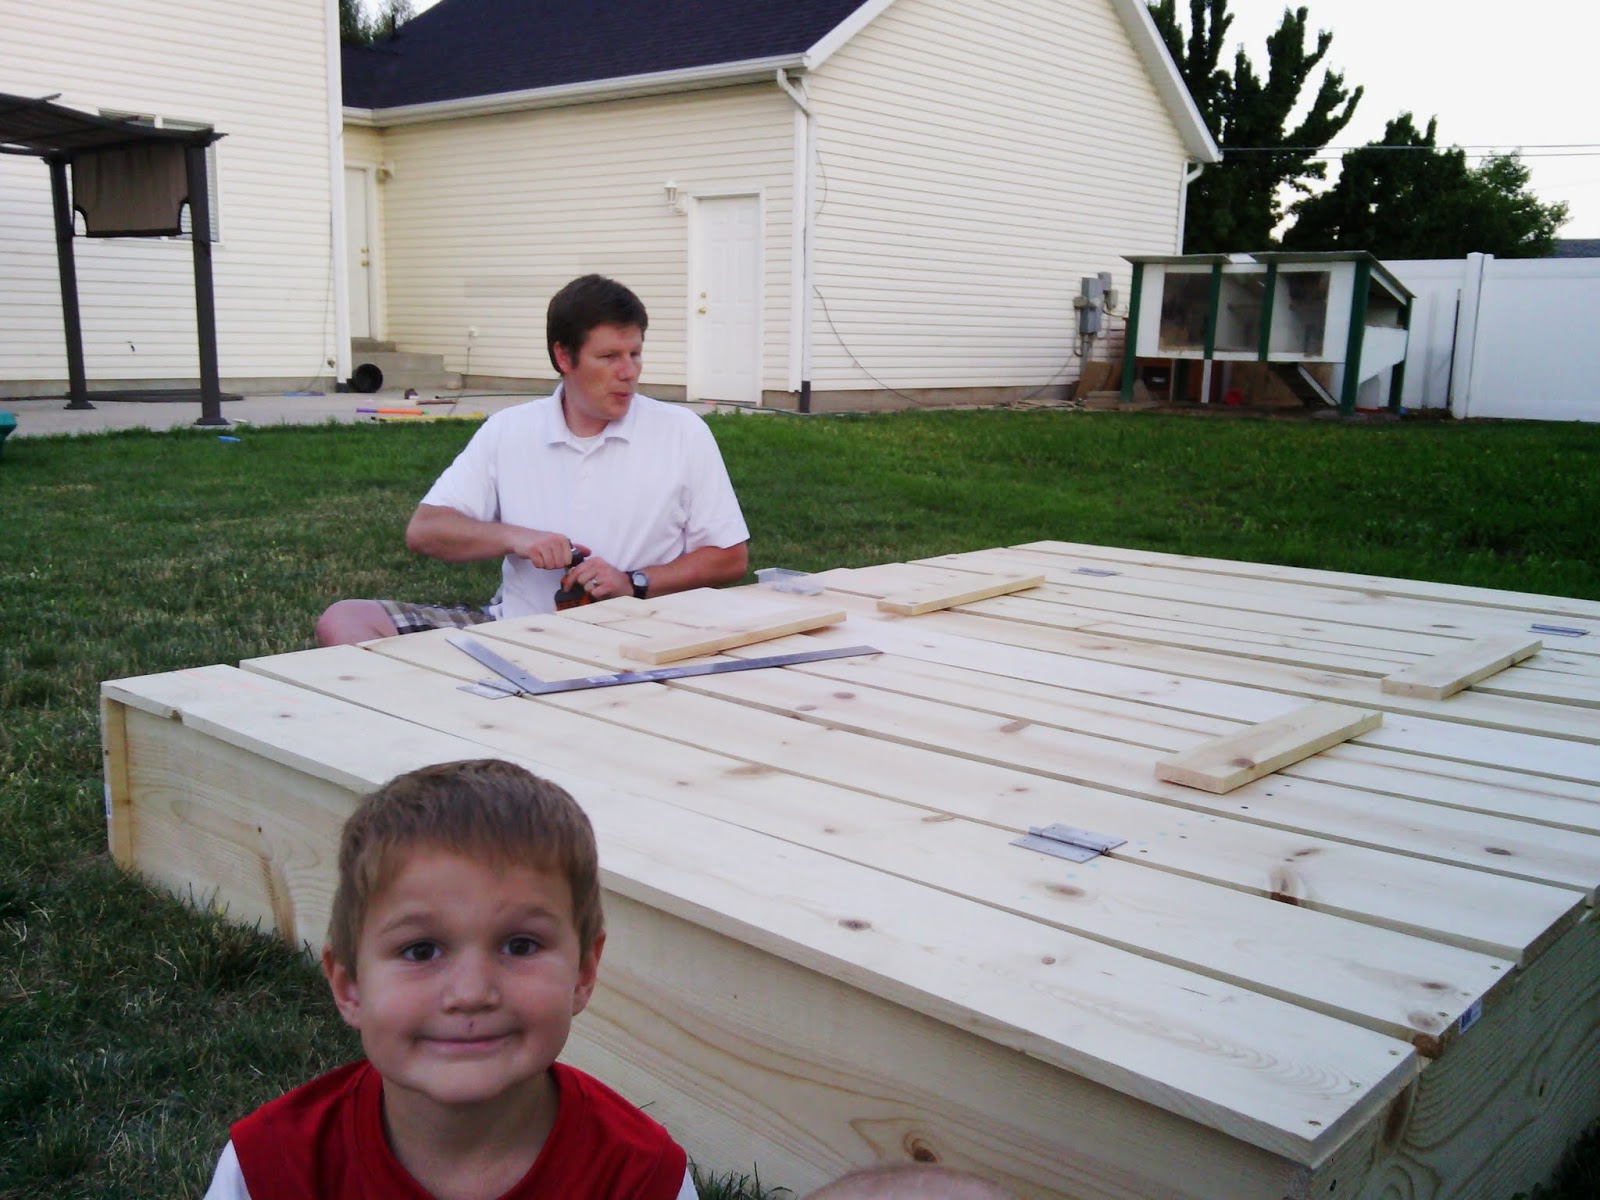
| #6 Boy helping as it got started |
Steps:
1) We started by making the bottom box. To do this we cut 1 1/2 inches off of 2 of the 12 X 1 X 6. We placed the newly cut boards 1 1/2 inches in from both ends of the 12 X 1 X 8 and screwed them together with 4 screws on each connection (16 total).
[The following steps will happen on both sides of the box but I will just explain once]
2) Screw down the first (#1 Board) 8 X 1 X 6 board lined up with the end of the box. 3) Spaced 1 inch from your first board lay down the #2 board. Screw edges into base box.
4) Space the #3 board 1 inch from the second board. Add 2 hinges on the top of the wood. Place them 1 ft 2 1/2 inches in from either side.

5) Hold arm rest under #3 board sticking out half way and 1 foot from the edge under the two boards and screw from the top down. Then place #4 board 1 inch away from #3 board and screw down into arm rests.
6) Open up the bench. Then screw hinges into #4 board hanging off the back of the sandbox.

 |
| These are the hinges we used |
 |
| Dad whistling while he works |
 |
| The End product not stained |
 |
| The lid pulls up into two seats. |
 |
| On Saturday we stained the sandbox. We aren't sure still why we give the kids paint brushes...ever! |
 |
| #6 Boy and Mom |
 |
| Oh the help |
 |
| Then we sent them to the shade and got some real work done |
 |
| We got it set into place but were not able to get the sand Saturday |
 |
| But it felt good to have it there |
11) Fill with 2 yards of white playground sand and enjoy!
|
| Then Monday night we finally got sand in the sandbox |
 |
| and the kids were happy...and sandy and also wet from the old sandbox |
Where did you buy the sand from? I really want to make this soon but you know the laundry room might have to come first. :)
ReplyDeleteCompany: Staker Parson
ReplyDeleteType: White Playground Sand
Your supply list is slightly confusing. Do you mean (2) 12' 1"x8". And (14) 8' 1"x6"? In the instructions you use the 1x8s for the sides and 1x6s for the ends of the box?
ReplyDeleteSorry, I can see how it could be confusing. It is 2 boards that are 12 inches by 1 inch by 8 feet long. The other is 12 boards that are 8 inches by 1 inch by 6 feet long AND 2 boards that are 12 inches by 1 inch by 6 feet long. I will fix it in the instructions now.
ReplyDeleteThanks for posting this. I'm having trouble understanding how I'm going to be able to fit the (12) - 8" X 1" X 6' with a one inch space between each one. The eight feet of the sides only adds up to 96 inches. If I lay the 12 boards together on top of the box that adds up to 96 inches which doesn't give me room for the 1 inch space you recommend between each one.
ReplyDeleteThe dimension of any finished lumber is what that dimension started as before finishing. A 1x6 is actually 3/4 x 5 1/2.
ReplyDeleteThank you Tim, I didn't realize that!
ReplyDeleteThank you for the plans, this is a great size for a 3 or 4 kids to play. How many bags of sand did you use to fill it?
ReplyDelete